How To Make Your Nutritious Energy Bars
Author:Tooba
|
Released:August 18, 2025
Are you tired of store-bought energy bars that are either too sugary, overly processed, or outrageously expensive? Why not try making your own? Crafting your nutritious energy bars is satisfying and allows you to tailor the ingredients to suit your tastes and dietary needs.
Why Make Your Energy Bars?
Before we dive into the recipe, let’s consider why homemade energy bars are worth the effort:
Control Over Ingredients
You decide what goes in. Avoid artificial sweeteners, preservatives, and allergens.
Cost-Effective
Store-bought bars can cost up to $3 each. Making your own saves money in the long run.
Customizable
Tailor the recipe to match your flavour preferences, nutritional goals, and dietary restrictions.
Freshness
Your homemade bars will always taste fresher than pre-packaged alternatives.
Key Ingredients For Energy Bars
What makes an energy bar nutritious and satisfying? Let’s break down the building blocks:
Base Ingredients
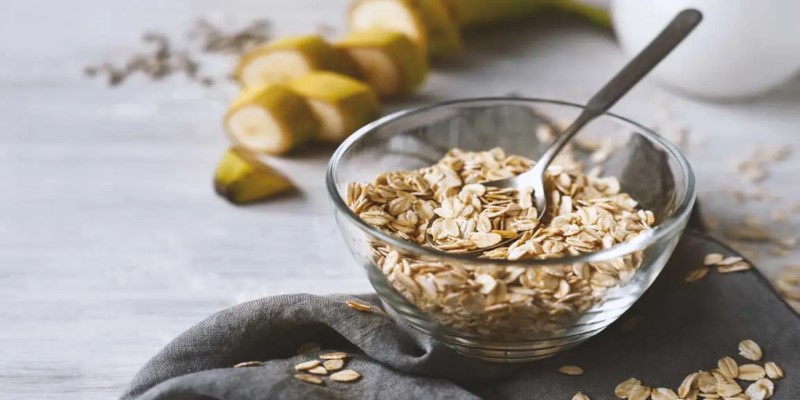
Oats: Rich in fibre and a slow-releasing source of energy. Use rolled or quick oats.
Nut Butter: Almond, peanut, or cashew butter provides healthy fats and acts as a binder.
Dried Fruits: Dates, raisins, apricots, or figs add natural sweetness and nutrients.
Protein And Texture Enhancers
Nuts and Seeds: Almonds, walnuts, sunflower seeds, or chia seeds add crunch and protein.
Protein Powder: Optional, but great for adding extra protein for workouts.
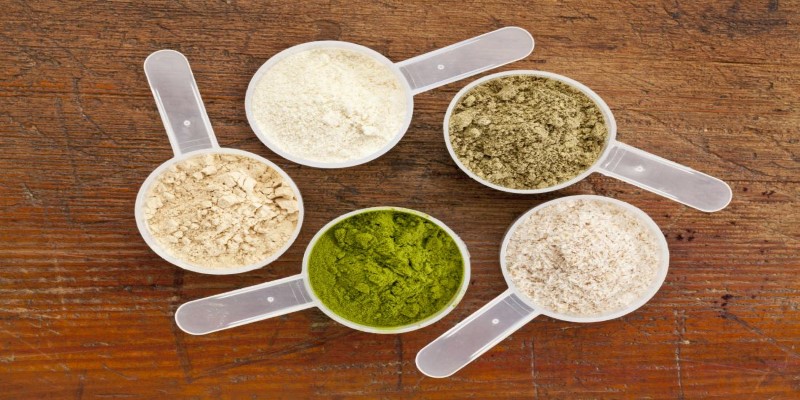
Coconut Flakes: Unsweetened shredded coconut offers texture and flavour.
Sweeteners (Optional)
Honey, Maple Syrup, or Agave: Choose natural sweeteners to adjust the sweetness.
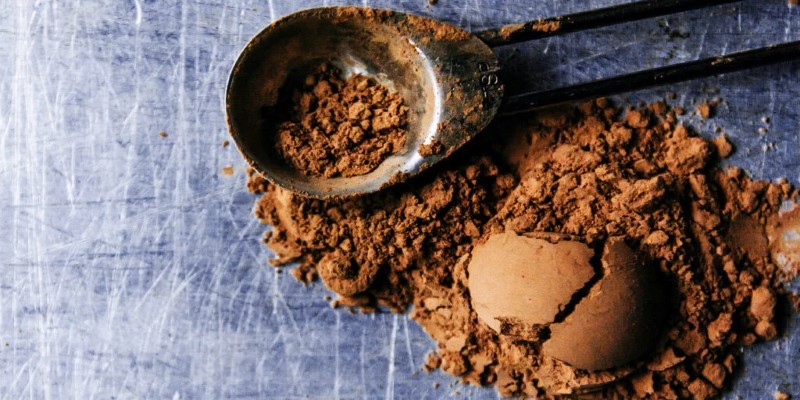
Flavor Boosters
Cocoa Powder: Perfect for chocolate lovers.
Spices: A pinch of cinnamon, nutmeg, or vanilla extract enhances the flavour.
Binders
Nut Butter and Dates: These sticky ingredients hold everything together.
Coconut Oil: Helps solidify the bars when chilled.
Tools You’ll Need
Making energy bars is a breeze if you have the right tools:
Food Processor
To blend ingredients like dates and oats into a sticky base.
Mixing Bowls
For combining ingredients.
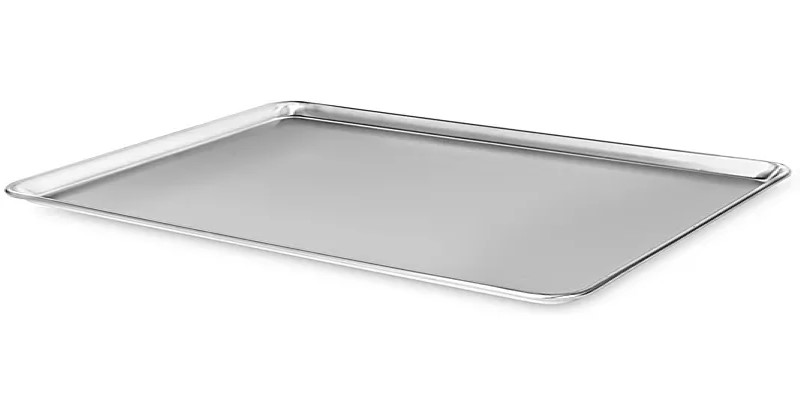
Baking Pan
Use a square or rectangular pan to shape your bars.
Parchment Paper
For easy removal and to prevent sticking.
Step-By-Step Recipe For Nutritious Energy Bars
Here’s a foolproof recipe to get you started. Feel free to adjust it based on your preferences.
Ingredients:
1 cup pitted Medjool dates (about 12-15 dates)
1 cup rolled oats
1/2 cup almond butter (or any nut butter)
1/4 cup honey or maple syrup
1/2 cup chopped nuts (almonds, walnuts, or a mix)
1/4 cup seeds (chia, flaxseeds, or sunflower seeds)
1/4 cup unsweetened shredded coconut (optional)
1/4 cup dark chocolate chips (optional for topping)
Instructions:
Line a square baking pan (8x8 inch works well) with parchment paper, leaving some overhang for easy removal.
Blend the dates in a food processor until they form a sticky paste. Add the oats and pulse until well combined.
In a mixing bowl, combine the date-oat mixture with almond butter, honey, nuts, seeds, and coconut. Use a spoon or your hands to mix until everything is evenly distributed.
Transfer the mixture to the prepared baking pan. Press it down firmly using the back of a spoon or your hands. The mixture should be evenly spread and compact.
Melt the dark chocolate chips in a microwave or double boiler. Drizzle the melted chocolate over the bars for an extra indulgence.
Refrigerate the pan for at least 2 hours or until the mixture is firm.
Once chilled, use the parchment overhang to lift the block out of the pan. Cut into bars or squares using a sharp knife.
Store your bars in an airtight container in the refrigerator for up to two weeks. For more extended storage, freeze them in a sealed bag for up to three months.
Variations To Try
One of the best parts about making your energy bars is how adaptable the recipe can be. Here are some ideas to mix things up:
Tropical Twist
Add dried pineapple, coconut, and macadamia nuts for a beachy vibe.
Peanut Butter Chocolate
Swap almond butter for peanut butter and add cocoa powder and mini chocolate chips.
Berry Blast
Mix in dried cranberries, blueberries, and white chocolate chips.
Savory Option
Omit sweeteners and use roasted nuts, seeds, and spices like paprika or cumin for a savoury snack.
Tips For Perfect Energy Bars
Adjust Sweetness
Start with a modest amount of natural sweeteners like honey or maple syrup and gradually increase to suit your taste. Remember that dried fruits such as dates, raisins, or apricots can naturally enhance the sweetness, so balance accordingly. Remember that chilling the bars can intensify the sweetness, so it's better to err on the side of less sweetness while mixing. For a lower-sugar option, try using mashed banana, unsweetened applesauce, or stevia as alternatives.
Texture Matters
The texture of your energy bars is key to their appeal. For a satisfying crunch, add whole or roughly chopped nuts like almonds, cashews, or hazelnuts, along with seeds such as sunflower or pumpkin. Lightly toasting them beforehand amplifies their flavour. If you prefer a smoother, chewy texture, process the mixture for longer to break down the ingredients and create a cohesive base while avoiding larger chunks.
Use A Silicone Pan
Silicone pans are a game-changer for making energy bars. They ensure easy removal without sticking, eliminating the need for parchment paper or excessive greasing. The flexibility of silicone also allows for an even press when shaping the mixture, ensuring uniform thickness and a clean, professional look. For extra convenience, opt for silicone pans with pre-formed sections to simplify portioning.
Why You’ll Love Homemade Energy Bars
Making your energy bars is empowering. You'll not only have a nutritious snack at your fingertips, but you'll also know precisely what's inside each bite. Plus, the process is fun and creative—a perfect weekend project.
So, gather your ingredients, fire up your food processor, and let your inner chef shine. With your homemade energy bars ready to go, you’ll never look at the store-bought options the same way again.